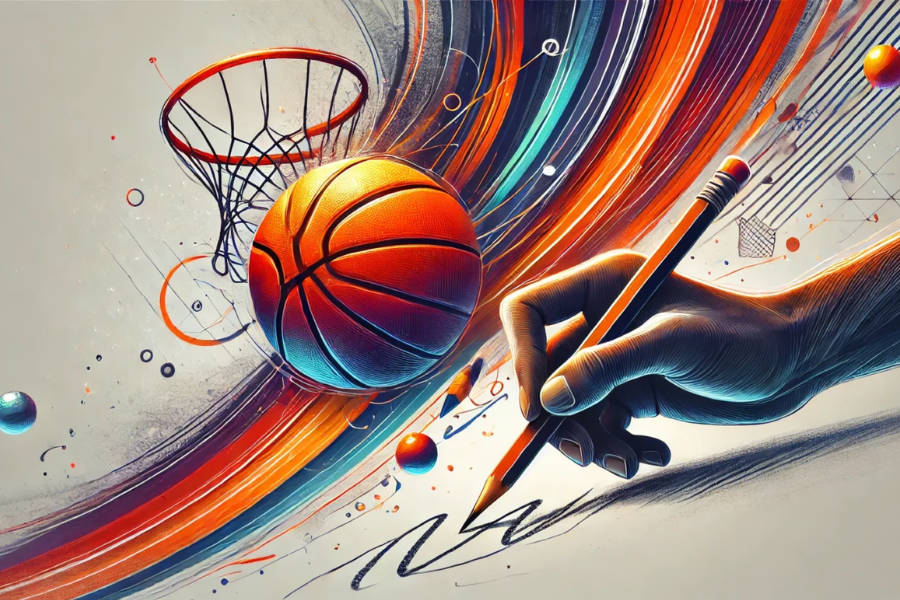
Mastering the Art of Drawing:cul23ybyzfm= basketball: A Comprehensive Guide
Drawing a basketball might seem straightforward at first, but creating a lifelike representation requires careful attention to detail, an understanding of geometric shapes, and skillful shading techniques. Whether you’re an aspiring artist or looking to refine your drawing skills, this guide will take you through the entire process of sketching a basketball, from the initial outline to the final touches.
The basketball, with its distinct orange color and iconic black lines, presents a unique challenge for artists. Its texture and pattern make it a captivating subject to draw. This guide breaks down the drawing process into manageable steps, ensuring that you can follow along and create a polished, professional-looking basketball.
Gathering Your Materials
Before you begin your drawing journey, it’s essential to gather all the necessary materials. The right tools can significantly impact the quality of your artwork and your overall drawing experience.
Pencils and Erasers
To achieve varying shades and details, a selection of pencils is crucial. Typically, you’ll need HB, 2B, and 4B pencils. The HB pencil is perfect for initial sketches and lighter lines, while the 2B and 4B pencils are better suited for darker lines and shading. Additionally, a kneaded eraser and a standard rubber eraser are indispensable for correcting mistakes and highlighting details.
Paper
Choosing the right paper is equally important. Opt for smooth, high-quality drawing paper to achieve clean lines and effective shading. While standard sketching paper is acceptable, Bristol board or any smooth-surfaced paper is preferable for detailed work, as it can accommodate multiple layers of graphite without smudging.
Additional Tools
Other useful tools include a ruler for drawing straight lines, blending stumps for smooth shading, and a compass or a circular object for drawing perfect circles. A sharpener is also essential to keep your pencils in prime condition.
Understanding the Basic Shape

A basketball is fundamentally a sphere, but translating this three-dimensional shape onto paper requires an understanding of basic geometric forms. Start with a simple circle and build from there.
Drawing the Initial Circle
Begin by sketching a large circle. You can use a compass or trace around a circular object to ensure accuracy. This circle will form the outline of your basketball. Lightly draw the circle with an HB pencil, as you will refine it later.
Establishing the Sphere
To give the circle a three-dimensional appearance, incorporate contour lines to illustrate the ball’s curvature. Draw two intersecting lines to divide the circle into four equal parts. These lines should curve slightly to convey the roundness of the ball, resembling the basketball’s equator and prime meridian.
Adding Guidelines for Details
Next, sketch additional guidelines for the basketball’s distinctive lines. These will assist in accurately placing the lines later on. A basketball typically features eight panels divided by four curved lines. Lightly draw these guidelines within the circle, ensuring they follow the sphere’s curvature.
Drawing the Basketball Lines
The black lines on a basketball are integral to its iconic look. These lines not only define but also enhance polar contrast for a realistic appearance.
Sketching the Main Lines
Using the previously drawn guidelines, start sketching the main lines. These lines should curve according to the ball’s roundness. Focus on the central vertical and horizontal lines, ensuring they are symmetrical and evenly spaced.
Refining the Lines
Once you’ve established the basic lines, refine them by making them thicker and more defined using your 2B pencil. The lines should be bold and consistent in width, mirroring the actual lines on a basketball. Pay particular attention to the intersections where the lines converge; these should be smooth and seamless.
Adding Secondary Lines
A standard basketball also includes additional lines forming the panels. Carefully add these secondary lines, ensuring they naturally curve with the ball’s shape. Start by lightly sketching them with your HB pencil, and once satisfied, darken them with a 2B pencil.
Shading and Texturing
Shading and texturing are essential for creating a realistic basketball. Proper shading adds depth and dimension, while texturing captures the ball’s distinctive surface.
Understanding Light Source
Before shading, determine your light source. Knowing its direction will help you accurately place shadows and highlights. Typically, a top-left or top-right light source works well for drawing a basketball.
Applying Basic Shading
Begin shading with your HB pencil, lightly adding shadows to areas away from the light source. Gradually build up the darkness using your 2B and 4B pencils. The darkest shadows will be on the side opposite the light, while lighter areas will be closer to it.
Creating Texture
To replicate the basketball’s textured surface, add small, evenly spaced dots or short lines across the ball. This technique, known as stippling or hatching, mimics the ball’s pebbled texture. Use a fine-tipped pencil and vary the pressure for different shades and textures.
Blending and Smoothing
After applying the texture, use a blending stump or tissue to smooth out the shading. This will unify the tones and soften any harsh lines. Avoid over-blending to maintain some texture and detail.
Adding Final Touches
Final touches enhance your drawing’s overall appearance, making it look complete and professional.
Highlighting
Use a kneaded eraser to gently lift some graphite from areas where light hits the ball. These highlights will accentuate the three-dimensional effect. Be subtle to avoid unnatural-looking highlights.
Enhancing Shadows
Return with your 4B pencil to darken the deepest shadows. This contrast will enhance the ball’s roundness and make the highlights more pronounced. Focus on the edges where the ball curves away from the light.
Final Review
Step back and review your drawing as a whole. Look for inconsistencies or areas needing refinement. Ensure the lines are smooth, the shading is even, and the texture is realistic. Make necessary adjustments for a polished and professional finish.
Common Mistakes and How to Avoid Them
Even experienced artists can make mistakes. Being aware of common pitfalls and how to avoid them can save time and frustration.
Overworking the Drawing
A common error is overworking the drawing by adding excessive detail or shading. This can make the drawing appear cluttered. To avoid this, take breaks and periodically assess your work. Sometimes, less is more for achieving a realistic effect.
Ignoring the Light Source
Ignoring the light source can lead to unrealistic shading and highlights. Always establish a clear light source before beginning your shading, and maintain consistency throughout your drawing for a more believable result.
Uneven Lines
Uneven or wobbly lines can detract from the overall appearance of your basketball. Practice drawing smooth, confident lines and use tools like rulers or templates if needed. Don’t hesitate to erase and correct mistakes.
Inconsistent Texture
A consistent texture is crucial for realism. Inconsistent or uneven texture can make the ball appear flat or unnatural. Take your time with stippling or hatching, keeping pressure consistent throughout.
Advanced Techniques for Enhanced Realism
Once you’ve mastered the basics, consider exploring advanced methods to further enhance the realism of your basketball drawing.
Using Colored Pencils
Adding color can bring your drawing to life. Use colored pencils to layer different shades of orange for the ball and black for the lines. Begin with a light base color and gradually build up to darker shades, blending them smoothly. Pay attention to color transitions and maintain texture as you did with graphite.
Experimenting with Different Textures
To push realism further, experiment with various textures and materials. For example, use sandpaper to create subtle texture on the ball or try different shading techniques like cross-hatching for a more dynamic look.
Adding Background and Context
Incorporate a background or additional elements to add depth and context to your drawing. Consider including a basketball hoop, a court, or a hand holding the ball. These elements can enhance the narrative and make your drawing more engaging.
Practice and Patience
Drawing a realistic basketball, like any skill, requires practice and patience. Don’t be discouraged by initial challenges or mistakes. With each attempt, you’ll refine your technique and gain a deeper understanding of the process.
Regular Practice
Allocate regular time for practice to work on different aspects of drawing, such as perfecting lines, improving shading, or experimenting with textures. Consistent practice will help you hone your skills and develop your unique style.
Conclusion
Mastering the art of drawing a basketball is a rewarding experience that combines creativity with technical skill. By following this comprehensive guide, you’ll be equipped to create a realistic and detailed drawing that captures the essence of this iconic sports object. Remember, practice is key, and with each drawing, you’ll improve your technique and develop your artistic style. Keep experimenting, stay patient, and enjoy the process of bringing your basketball drawings to life.
Keep up-to-date with breaking news and updates on glamourtomorrow