Repair YEX382V3YTE Air Conditioner: A Comprehensive Guide
Repair yex382v3yte air conditioner not performing as it should? Don’t sweat it! In this comprehensive guide, we’ll delve into the common issues that can affect your unit’s performance and provide you with detailed, step-by-step instructions to help you get your air conditioner back in top shape. With a little troubleshooting and some basic repairs, you can restore your unit’s efficiency and comfort.
Common Symptoms Indicating the Need for Repair
Before we jump into the repair process, it’s crucial to identify the symptoms indicating that your YEX382V3YTE air conditioner needs attention. Here are some common signs to watch out for:
No Cooling
If your air conditioner is running but not producing cold air, this is a clear sign of an issue. It could be a problem with the refrigerant, the compressor, or other components.
Strange Noises
Unusual sounds like grinding, squealing, or banging can indicate a mechanical problem within your unit. These noises often suggest that something is wrong with the fan or motor.
Water Leaks
Puddles forming around your air conditioner can signal a blockage in the drainage system or a refrigerant leak, both of which require immediate attention.
Unpleasant Odors
Musty or burning smells when the unit is operating could indicate mold buildup or electrical problems. It’s essential to address these odors promptly to prevent further damage or health hazards.
Frequent Cycling
If your air conditioner turns on and off more frequently than usual, it may be a sign of an underlying problem, such as a faulty thermostat or inadequate refrigerant levels.
Poor Airflow
Weak or reduced airflow coming from the vents can point to a dirty air filter or issues with the fan. This can significantly impact your unit’s efficiency and your comfort.
Tools and Materials Needed
Before you begin the repair process, gather the necessary tools and materials to make the job easier. Here’s what you’ll need:
- Screwdrivers (Phillips and flat-head)
- Multimeter for electrical testing
- Replacement parts if needed (e.g., filters, fan motors)
- Cleaning supplies (e.g., vinegar, water, soft cloth)
- Fin comb for straightening bent coils
Safety Precautions
Safety should always come first when working on electrical appliances. Here are some important safety precautions to keep in mind:
- Disconnect the Power Supply: Always turn off the power supply to your air conditioner before starting any repair work.
- Use Protective Gear: Wear gloves and safety goggles to protect yourself from potential hazards.
- Follow Manufacturer’s Instructions: Always refer to the user manual for specific guidelines related to your model.
Step-by-Step Repair Instructions
Step 1: Diagnose the Problem
Check the Power Supply
The first step in troubleshooting your YEX382V3YTE air conditioner is to ensure it has power. Start by checking the following:
- Plugged In: Make sure the air conditioner is securely plugged into the outlet.
- Circuit Breaker: Check the circuit breaker to ensure it hasn’t tripped. If it has, reset it and see if the unit operates normally.
- Voltage Check: Use a multimeter to check the voltage at the power outlet to confirm that it’s receiving the appropriate voltage.
Inspect the Thermostat
The thermostat plays a crucial role in regulating your air conditioner’s temperature. Here’s how to check it:
- Setting: Ensure that the thermostat is set to a temperature lower than the current room temperature.
- Batteries: If your thermostat is battery-operated, replace the batteries if necessary. A dead battery can prevent the thermostat from functioning properly.
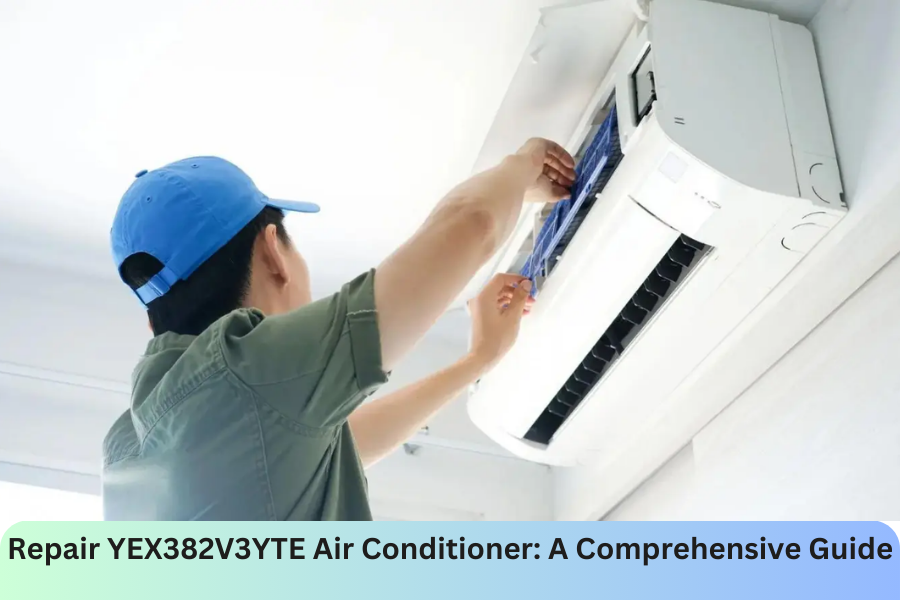
Step 2: Clean or Replace the Air Filter
A dirty or clogged air filter can severely impact your air conditioner’s performance. Here’s how to clean or replace it:
Locate the Air Filter
- Open the front panel of your air conditioner to access the air filter.
- Remove the filter gently, taking care not to damage it.
Clean the Filter
- Cleaning Solution: Mix equal parts of vinegar and water.
- Soak and Scrub: Soak the filter in the solution for about 30 minutes. After soaking, scrub it gently with a soft cloth to remove dirt and debris.
- Dry: Rinse the filter with clean water and let it dry completely before reinserting it.
- Replacement: If the filter is damaged or excessively dirty, consider replacing it with a new one.
Step 3: Check for Refrigerant Leaks
Low refrigerant levels can lead to cooling issues. Here’s how to inspect for leaks:
Inspect the Refrigerant Lines
- Look for any signs of oil or refrigerant leakage around the refrigerant lines and connections. This could indicate a leak.
- If you notice any signs of a leak, it’s essential to call a professional to handle refrigerant issues, as it requires specialized tools and knowledge.
Test the Refrigerant Levels
- Refrigerant Gauge: Use a refrigerant gauge to check the levels.
- Low Levels: If the levels are low, contact a certified technician to recharge the refrigerant and address any leaks.
Step 4: Examine the Condenser and Evaporator Coils
Dirty coils can restrict airflow and reduce your air conditioner’s efficiency. Follow these steps to clean and inspect them:
Clean the Coils
- Debris Removal: Start by removing any debris or dirt from the condenser and evaporator coils using a soft brush.
- Coil Cleaner: Use a coil cleaner to remove built-up grime. Follow the product instructions for the best results.
Inspect for Damage
- Check for any bent fins or other damage on the coils.
- If you find bent fins, use a fin comb to straighten them. This will help improve airflow and efficiency.
Step 5: Inspect the Fan and Motor
The fan and motor are essential for proper airflow and cooling. Here’s how to inspect them:
Check the Fan Blades
- Ensure that the fan blades are free of obstructions and can spin without hindrance.
- If you notice any debris blocking the fan, remove it carefully.
Test the Motor
- Listen for Noises: Turn on the air conditioner and listen for any unusual noises coming from the motor.
- Continuity Test: Use a multimeter to check for continuity in the motor. If there’s no continuity, it may need to be replaced.
Step 6: Address Water Leaks
Water leaks can lead to significant damage if left unaddressed. Here’s how to handle them:
Clear the Drain Line
- Check the drain line for blockages that may prevent water from draining properly.
- Use a vacuum or pipe cleaner to clear any obstructions in the drain line.
Inspect the Condensate Pump
- Ensure that the condensate pump is functioning correctly. If it’s not pumping out water, it may need to be replaced.
- Check for any clogs in the pump and clean them as necessary.
Conclusion
By following these steps, you should be able to diagnose and repair most common issues with your YEX382V3YTE air conditioner. Regular maintenance, such as cleaning the air filter and coils, checking refrigerant levels, and inspecting the fan and motor, will ensure your unit operates efficiently and prolong its lifespan.
Don’t hesitate to consult a professional if you encounter problems beyond your expertise, especially regarding electrical components or refrigerant handling. With proper care and timely repairs, your air conditioner can keep you comfortable for years to come.
Keep an eye for more latest news & updates on glamourtomorrow